Yes, we know, “leaving-something-colorful-in-the-picture-while-making-everything-else-black-and-white” is way too corny since Schindler’s List. Think of the little girl with the red dress. However, if you still want to use this technique, we’re willing to help. No magic, no strings attached, just a simple tool and a bit of dexterity.
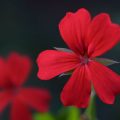
Load the photo in Photoshop
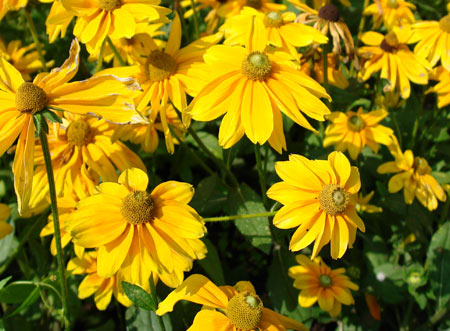
We want to emphasize an element of this picture by making most of the colors vanish. Let’s pick the flower near the bottom right corner as it already stands a little apart from the rest. We’ll keep its colors while transforming the rest of the photo into black-and-white.
Use the sponge!
![]()
The Sponge tool (activated by pressing O) is most suitable for decolorizing certain parts of a picture. You can paint the areas you want just like with a brush. The options bar at the top contains the following settings:
Brush shape: The thick/thin wave shows the shape and pattern of the selected brush. Click the down arrow on its right to choose from a list of predefined brushes. In this case, we need a sharp brush of a relatively large size for the initial steps.
Size: Sets brush size in pixels.
Mode: The effect mode of the sponge. Desaturate reduces colors, while Saturate increases them. We’ll need the first one now.
Flow: The effect strength of one pass with the brush. Set it to 100%for quick color removal. Even this way, you’ll have to paint over areas more than once for complete decolorization.
Doing the rough work
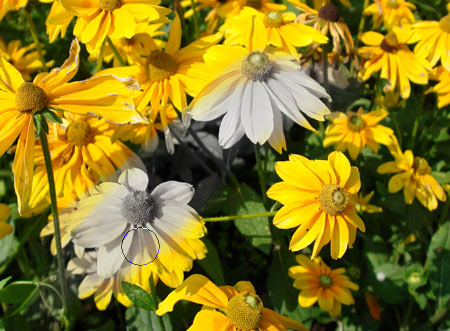
If you’re done with the settings, left-click and carefully paint over most of the image. As mentioned above, the desaturation is not very strong, so one brush stroke won’t remove the colors completely. Release the mouse button, and click again to paint over the same area again.
For now, stay clear of the flower you want to keep and its immediate surroundings.
Delicate parts

You need to work more accurately around the flower, so use a smaller brush and magnify the displayed image with the Zoom tool (press Z) to be able to see finer details better.
If the object you want to keep colorful sticks as nicely out of its surroundings as in this example, you have a quicker workaround at hand.
Select the Magic Wand tool (press W), set its Tolerance option to a high value (we used 80), and click the object. If the whole object (in this case, the flower) didn’t become selected at once, hold Shift while clicking the parts that were left out until everything you want has a marquee around. It doesn’t matter if the selection is a bit wide, we’ll clear things up later.
Now right-click inside the selection and click Select Inverse in the context menu in order to switch the selection to its inverse. Now the flower is “protected” from your brush strokes.
Carry on desaturation with the sponge tool. You don’t have to pay attention to the flower as it is outside the selection and therefore won’t be affected by brush strokes.
Let’s make things clear

When you’re done, press Ctrl+D to cancel the selection, and choose a smaller brush to decolorize the rest of tiny details, if any. Be sure to use the Zoom tool recommended earlier as it enables much more accurate work.
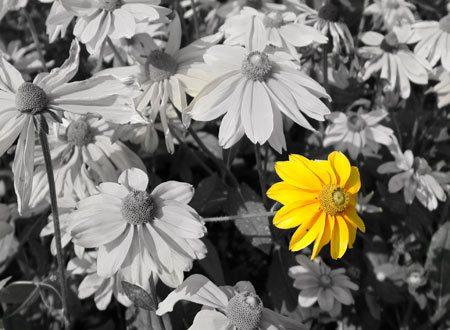
One out of many

Here’s the result. The single yellow flower will surely catch the spectator’s eyes.