If you’ve read the Photoshop version of this article, you’ll have a real easy job to do. But even if you haven’t, the procedure introduced below won’t test your abilities much. The process of making brownish, ancient-looking photos is almost identical in Photoshop Elements. And as the Latin proverb goes, repetition is the mother of learning.
Load the photo in Photoshop Elements

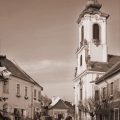
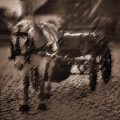
If possible, choose a photo the has an oldish feeling, at least in some details. It can be a turn-of-the century street or monument, or even a photo of an oldtimer.
Coloring
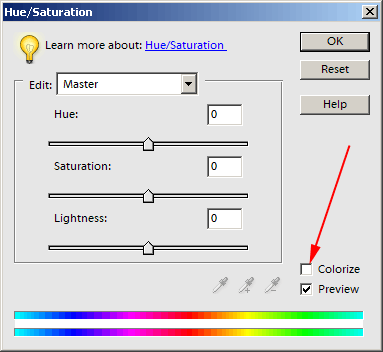
The most important difference compared to the Photoshop procedure is that now you’ll find the tool you need under Enhance/Adjust Color/Adjust Hue/Saturation. Or, you can simply press Ctrl+U.
Obviously, this is not Adjust Hue/Saturation’s primary purpose, but in the lower right corner you can find a check box called Colorize that can make a picture monochrome. Select it and watch the effect.
The point
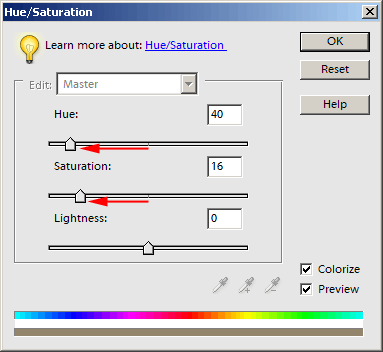
In order to get a sepia color, you have to adjust the Hue slider or type a value to its right. We dragged the slider to the left, for a value of 40. You can also use this control to get differently colored monochrome pictures. Feel free to try greenish, reddish or blueish effects, for example.
Saturation also needs to be adjusted. We found the best results when using a value of 16.
Lightness doesn’t need any adjustments right now.
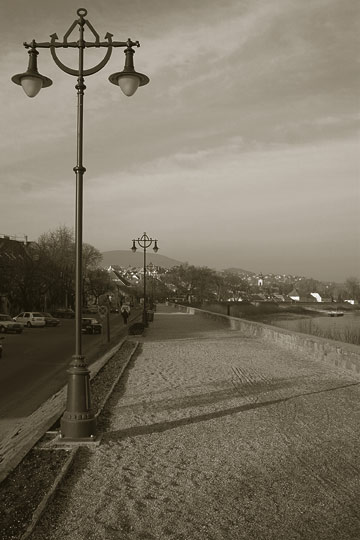
Oldish
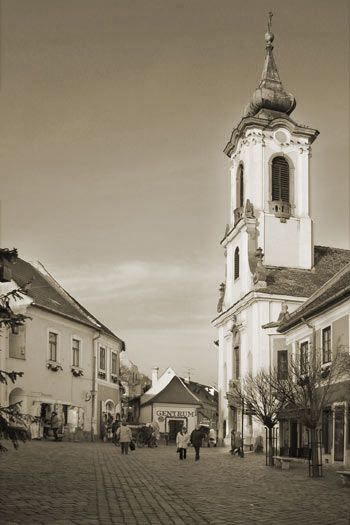
The photo radiates a wholly different mood now. For a while, drift away on the waves of memory! Or, if you don’t feel like, make a paper copy of the photo. Grandma will surely love it.