First of all, be warned that your picture won’t get any better with a border around it. But you can use a border to make the photo more catchy and collected. Pay attention to not overusing borders, they shouldn’t be the main visual element in the picture! Now we’ll introduce a simple but effective technique for applying borders in Photoshop.
Click File/Open to open the photo in Photoshop.
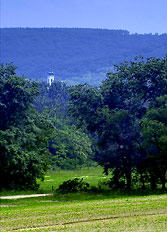 As we are making a border inside the picture area, remember that it will blot out some of the edge areas. Do not cover any important elements with a border, and you should also avoid the main topic touching it. Choose a tasteful, smaller border width. Depending on the size of the picture, this can be 10 or even 100-200 pixels. We are using a relatively small image, suitable for online use, as an example, so we have to stick to an almost minimal border width.
Press Ctrl+A to select the whole image. This way, Photoshop will know that you want to make a border for the whole area. Click Edit/Stroke to display a small dialog which allows you to set border properties. Width is the border width in pixels. First, we are making a slightly broader black border, and then another one, lighter, narrower, and more emphasized. In accordance with the size of the image, 12 px will be enough for the black one.
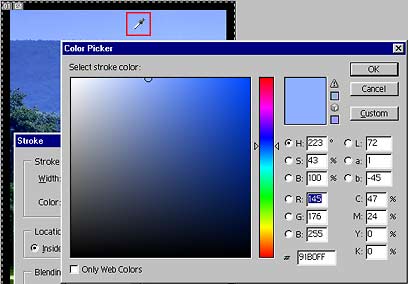
Click the color square next to Color to display the color picker dialog. Choose black.
Under Location, you can choose between three options:
Inside: Applies a border inside the marquee.
Center: Applies a border on the position of the marquee, both inside and outside.
Outside: Applies a border outside the marquee.
In this particular case, Outside would put the border off the canvas, Center would still display only some of it, so choose Inside.
Other properties in the dialog (Blending, Opacity) are not covered in this topic as we don’t need them for borders.
Summary: use the settings shown on the following picture.
Now you have a rather sinister-looking black border, but let’s move on!
Repeat the steps above. Press Ctrl+A, click Edit/Stroke, and use the following settings:
Make Width 1-2 pixels smaller than the last time. I have set 10 px.
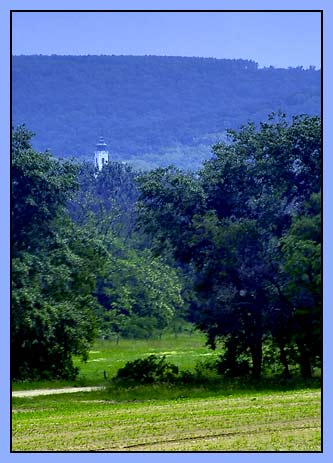
Click Color and choose white. If you want to make the color selection a bit more flexible, don’t click the color picker but click into the photo itself instead. If you move the pointer onto the photo when selecting a color, the cursor will change into an eyedropper. Now you can choose a color from the photo. Choose a typical color from the picture. I have chosen the blue of the sky.
Once again, set Location to Inside.
Click OK to finalize the border: