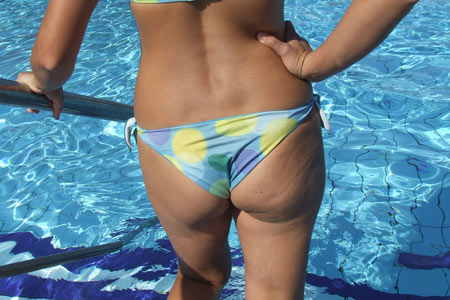
“I’d like to ask your assistance in eliminating cellulite. I’ve tried the procedure described in “Smoothing out faces”, but I’m sure you can come up with something even better. Thanks!”
Ink Bunny
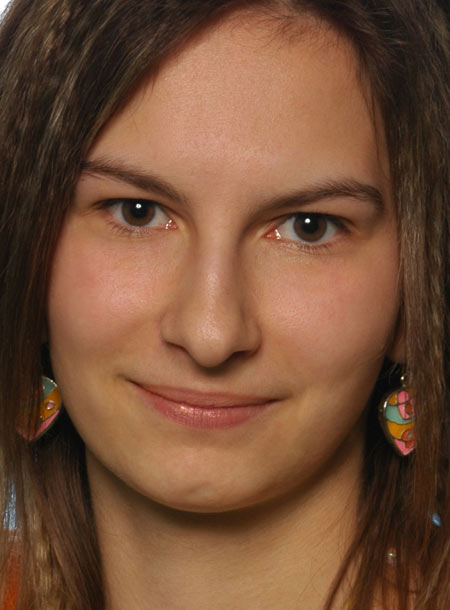
Indeed, at the first glance, we’d have suggested something like in the article you mentioned, “Smoothing out faces I.” The Dust & Scratches filter can smoothen a surface while preserving the texture at the same time. When eliminating skin defects (such as spots or cellulite), it is not just the blurring that is important, but also to preserve the original texture of the surface as much as possible. If it gets totally blurred, it will look unnatural.
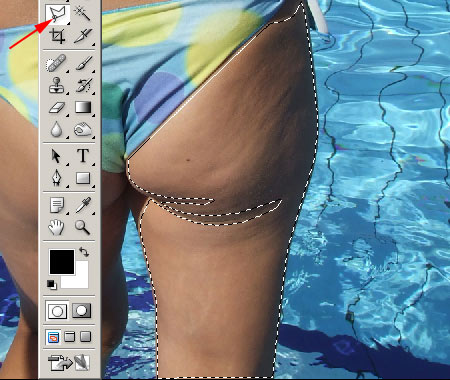
It is also important to select the area. We used the Polygonal Lasso Tool for this purpose, selecting the skin with small clicks, from line to line. You don’t have to be very precise, but stay within 3 to 4 pixels from the edges of the skin surface. You also don’t need to select the more defined edges as they don’t need to be blurred.
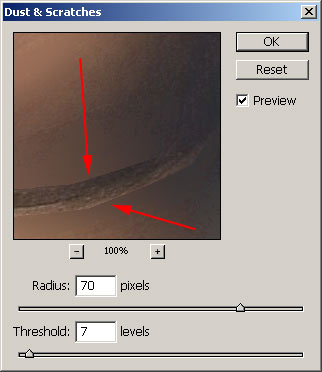
Now we can apply Filter/Noise/Dust & Scratches to the selected area. We used a high Radius for a strong blur, as we were dealing with the strong structure of cellulite, not tiny specks of dust.
You can use the Threshold slider to restore the original structure of the skin, which means picture noise and quantizing errors in addition to texture. Yes indeed, you need to restore the picture together with its errors to disguise your manipulations effectively. Your aim now is to eliminate cellulite. Noise is another cup of tea. We found a Threshold value of 7 the best. The higher value you specify, the more you restore of the original picture. A Threshold value of 0 means total blurring.
Along the borders of the selection, you get strange edges (indicated by the arrows) which really don’t fit the structure. You’ll have to make them vanish.
First, get rid of the selection marquee. Click the picture with any selection tool to do so.
Now choose the History Brush Tool from the Tools palette. This brush can be used to restore the original status of the painted areas. You don’t need to apply it everywhere (as it would reverse all your previous efforts), just paint over the edges of the selection. We set Opacity to about 20%, and chose a soft brush of about 50 pixels. This enabled nice and accurate work. The low opacity requires you to paint over the areas in question multiple times until the original surface is revealed little by little.
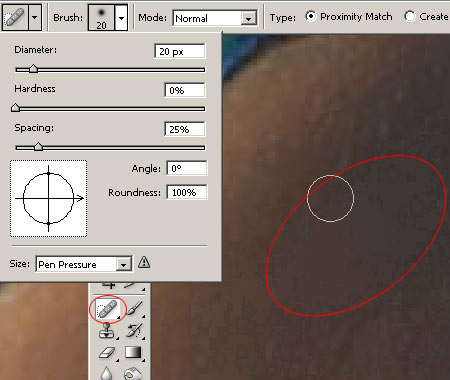
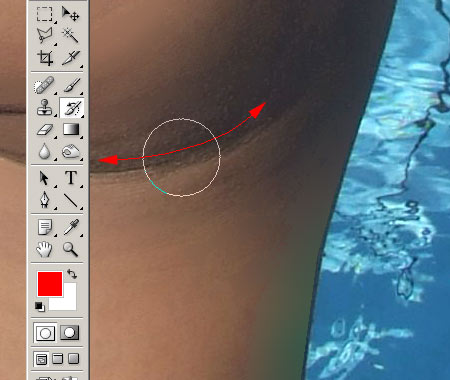
Taking a closer look at the blurred areas, we found strange areas (indicated in red) with rather blurred textures. These are not very annoying, but you may want to repair them for a more precise effect.
We chose the Spot Healing Brush for this purpose, with a diameter of 20 pixels and a hardness of 0%. Instead of painting, we were clicking away densely in these areas. The Spot Healing Brush samples the nearby areas—which hopefully sport a similar structure—and clones the texture to where you click, taking on the colors of the surrounding pixels. Smaller errors can be repaired with the frequent applying of this tool, along with Healing Brush.

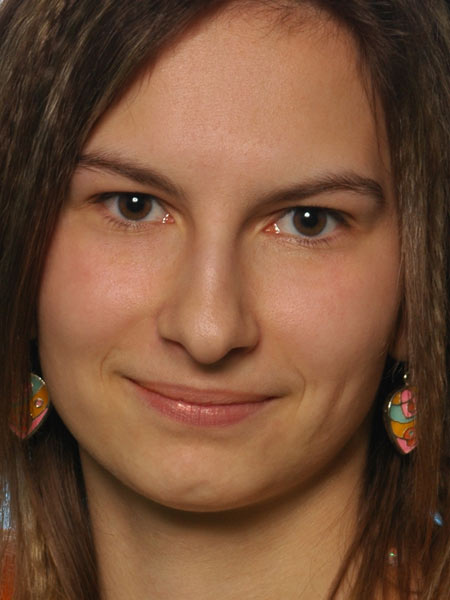
The result can be seen in the bottom picture. So everyone, prepare for the Ceremony of Getting Rid of Your Anti-Cellulite Cream! Our method brings spectacular results in just 10 to 15 minutes after the first treatment.