Well, even hardcore Photoshoppers need a little time out. And what else could rest the eyes, weary of vanishing points and masking, better than a nice and refreshing painter plugin? Take Virtual Painter 5, which has such an impressive name.
Virtual Painter is so “restful”, that judging by its user interface, one might mistake it for a drawing app for children. Indeed, the wee lads and lasses might get along with it quite well if they were interested in meddling with different pictorial styles. But fear not, even if you’re not familiar with the history of fine arts. You don’t need to do arts discourses. Clicking a few buttons and adjusting a handful of sliders will be perfectly sufficient to be able to pose as a real artist in front of your family.
Virtual Painter 5‘s setup file, weighing about 6.5 MB, installs the tiny software to your computer after asking for a few details. All you need to specify is whether you want to use the program as a stand-alone application, or as a plugin to, say, Photoshop. In the latter case, Setup finds the appropriate folder by itself, so you’ll have an easy task. After the installation, start Photoshop, and click Filter/Virtual Painter/VP5 to activate your new plugin.
The plugin’s window can really be best described as childlike, but it’s really a nice change after all those earnest designs, and besides, the interface hides serious power.
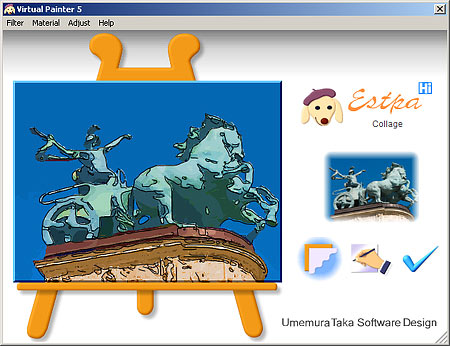
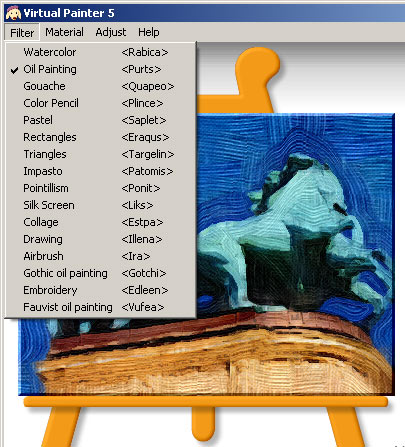
All you can see is a menu bar at the top, and three buttons on the right side of the preview area which resembles a canvas. The most important menu above is Filter, containing the painting effects. It holds 16 different pictorial and drawing styles. Some of them are unmentioned by art history (for instance, Rectangles), but still they offer good opportunities for experimenting. We don’t want to waste space here by listing all the 16 styles by name. You can visit the official website for the plugin for their descriptions and illustrations. Among others, you can find aquarel and oil painting, pointillist and collage styles, but you can also take a color pencil or a pastel crayon.
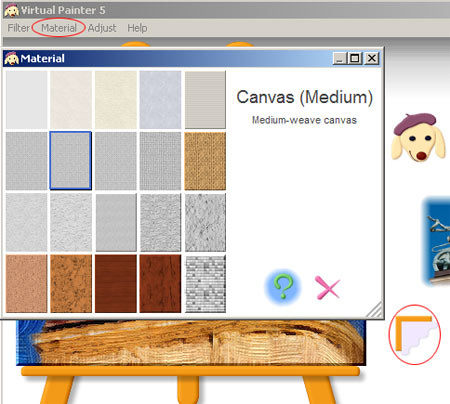
The selected style decides the basic character of the picture, which can be refined using the other menus. The next one is called Material, referring to the imaginary material of the surface you will paint, be it fine or rough paper, canvas, stone or wood. The materials, complete with preview thumbnails, can also be accessed using the first button.
We have set the style and the surface. Now we can go on refining them. Use the Adjust menu or the second button on the right (depicting a hand). You may want to use the latter as it displays a separate dialog, which enables much more precise adjustment and saving capabilities. The menu above allows adjustment only in 3 steps for each of the main characteristics. So let’s take a look at the dialog you invoke with the second button.
The button indicated with the red arrow toggles between basic and advanced settings. Basic settings cover the same attributes, but allows adjustment only in 3 steps (just as in the menu). On the other hand, advanced mode provides sliders for each attribute, which can be set from 0 to 100.
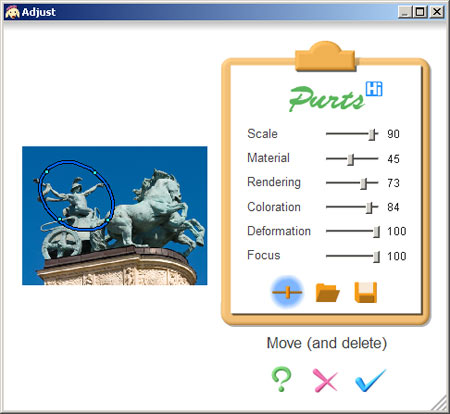
The attributes you can set are:
Scale: controls the size of background texture and brush width. Larger values produce a rougher surface and more rustic brush work.
Material: strength of background texture. The larger the value, the more rugged the paper or canvas surface.
Rendering: controls the intensity of the selected style. Lower values mean the picture will resemble the original more, while higher ones produce more brush strokes, and make the result look less real.
Colors: set a low value to keep the colors of the picture similar to the original. Increase it for less hues, more distinct and less realistic colors.
Deformation: distortion of the shapes in the picture. Lends an abstract look to the image.
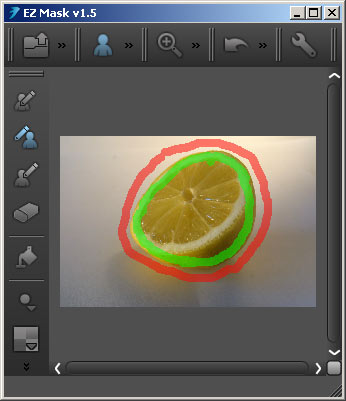
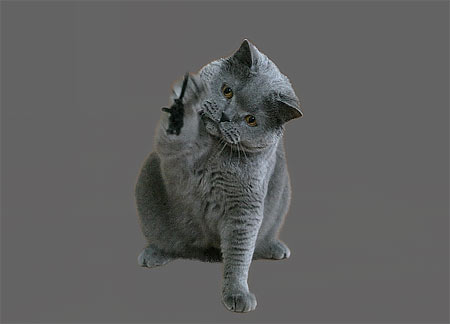
Focus: can be used to emphasize the main theme while blurring the background. You’ll get a selection pencil with which you’ll have to roughly encircle the main theme in the preview area. The oval you make is resizable with the handles. Using a high Focus value means the plugin will make the main theme more elaborate, while other areas of the picture will look more rough-and-ready, functioning as a background.
The result of your effects can be checked on the preview image on the left: Unfortunately, it cannot be zoomed, but resizing the whole dialog will make its size change accordingly.
If you get to like a settings scheme, click the second button on the dialog to save it. The third one loads a previously saved configuration. The button on the far right commits your changes, and the same button in the main window can be used to finalize the “painting”.
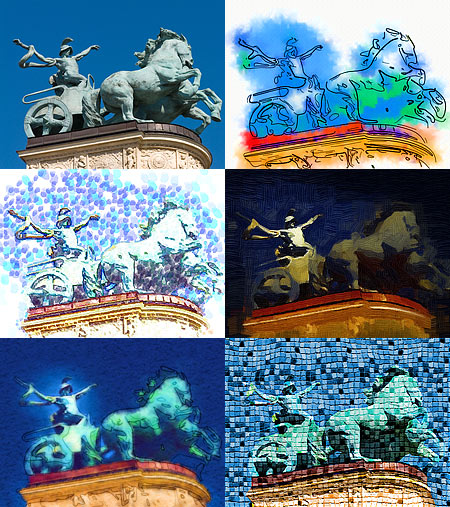
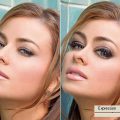
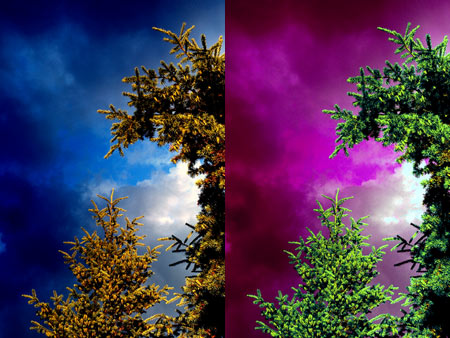
Here are a few small pictures to quickly demonstrate the capabilities of Virtual Painter 5. We made it after familiarizing ourselves with the plugin for a couple of minutes. They are: the original, drawing, pointillism, gothic oil painting, watercolor, gouache (aquarel on mosaic).