
Not that Christmas is well over, you may find yourself browsing your photo collection after photos of the Christmas tree and all its ornaments. Well, we have a minor trick which can help you add a little something to these pictures. Perhaps this is all they need…
Load the photo in Photoshop

Most of the time, lens flare is an unwanted phenomenon, a defect in the picture. Manufacturers—and even more so, customers—spend quite a few bucks to avoid such problems. However, there are situations when flare can spice up a photo. For example, a picture of a glinting Christmas ornament.
Pick the spot
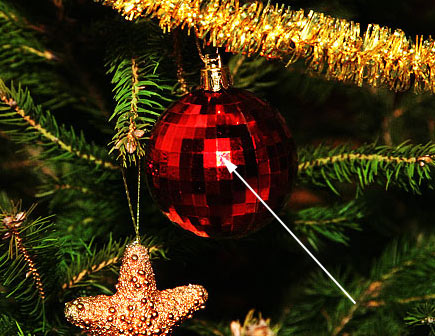
Before you start, choose a suitable location for the flare. Pick an area which is originally lighter and contains some kind of light reflection, such as the modest glint on this crystal ball.
Flare effect
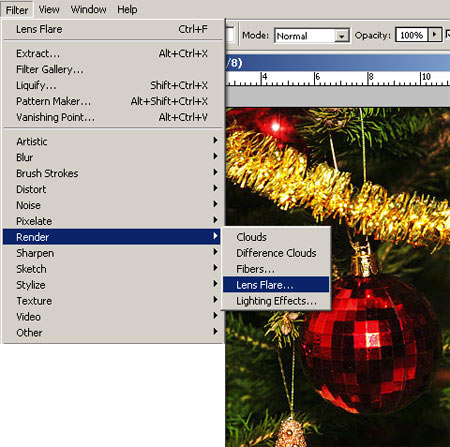
You can find the effect under Filter/Render/Lens Flare.
Fire it up!

The dialog shows a preview thumbnail of your photo. Your first task is to mark the place you picked for the flare—this time, it is the middle of the ball. Just click the area you want in the thumbnail to place a + mark.
The flare will not only affect this spot and its environs, since you can select a Lens Type based on focal length. This way you not only get a circle of light in the middle or a starlike dot, but in certain cases, a bit further, also the spots of light produced by the imaginary lens. If the flare is in the middle of the picture, then these spots will be located nearby, while if you place the main light source close to an edge or a corner, they will appear further, on the opposite side of the picture. Feel free to play around with different Lens Type settings to find which one gives the best result for your picture. We chose 50-300mm Zoom.
The last step is setting the Brightness of the flare using the slider. Adjust this value carefully as a strong circle of light may cover many details in the picture, and can be too outstanding and may therefore ruin the mood of the photo. In addition, the areas around the spot of light lose contrast, so you may want to start with a photo with a strong contrast, such as the one in this article.
A new star is born

In the place of the previous light spot, a stronger flare appeared with a starlike effect. Additionally, you can also see a few lens flares not far from the sphere, as if it were produced by a real lens.