The title tells everything about today’s article. How to cut a complex shape from a picture in Photoshop Elements? Luckily, the background is very simple, so we can start there. How? Read on.
Load the photo in Photoshop Elements
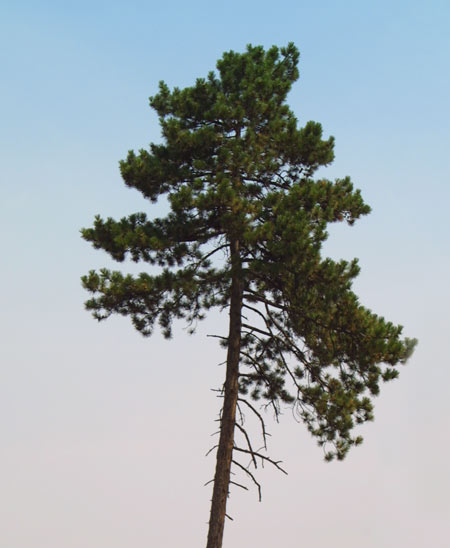
We want to cut the tree (oh, not really!), and with such a complex shape, one could keep trying for hours. This time, however, the job is rather simple as the sky surrounding it is almost completely homogeneous, and therefore, easily selectable. There’s some color gradient in it, but this won’t make things too difficult. Select the sky and simply invert the selection!
Approximation
You have several alternatives to choose from. One is selecting pixels of similar color and lightness. To do this, you first have to specify Photoshop Elements the color you are aiming at. Of course, this should cover the whole sky, from blue to greyish areas.
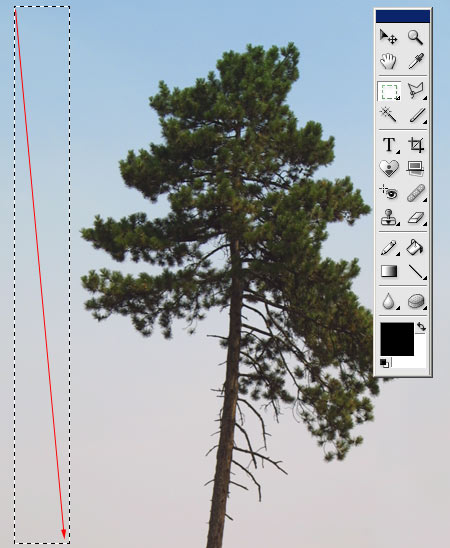
Select the Rectangular Marquee Tool, and draw a rectangle which will contain about all the colors in the sky. Take care to not include the main theme in the selection.
If the whole color spectrum you need cannot be included in a single rectangle, press and hold Shift while drawing additional rectangles. The point is to select all the sky’s colors if possible.
Just the similar ones
All you have to do after this is tell the application to select all pixels of the same colors. Click Select/Similar to make Elements do so. Now all of the sky is selected.
The other side of the coin
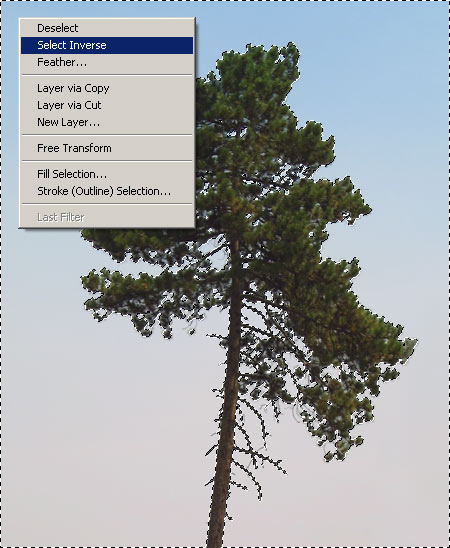
But instead of the sky, we need the tree selected, as we want it to modify (cut from the picture). It’s easy as pie. Right-click somewhere in the selection, and click Select Inverse in the context menu. This way all previously unselected areas will become selected. In this example, this means the tree.
A change of climate

Now you can do anything with the selected object. You can change its colors, brightness, or contrast, press Ctrl+C to copy it, and then Ctrl+V to paste it into another picture, creating a montage of your own.