Once again, we try to emulate another kind of photographic filters, gradient filters. Photoshop Elements has an inexhaustible supply of tools for this purpose. You can choose any color transition you like, and even apply multiple colors at once. And in addition, the use of layer blending modes opens totally new perspectives in comparation to traditional filters.
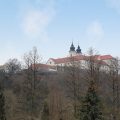
Load the photo in Photoshop Elements

Well, this picture is late-autumnish enough already, but what about enhancing the early morning lights and the foggy melancholy a bit further? All you need to do so are two color filters.
Adjustment layer
Click the indicated icon to create an adjustment layer. This will affect all the layers under it. Right now we have only one such layer, the original image.
Select Gradient from the dropdown in order to create a color transition.
Violet, orange
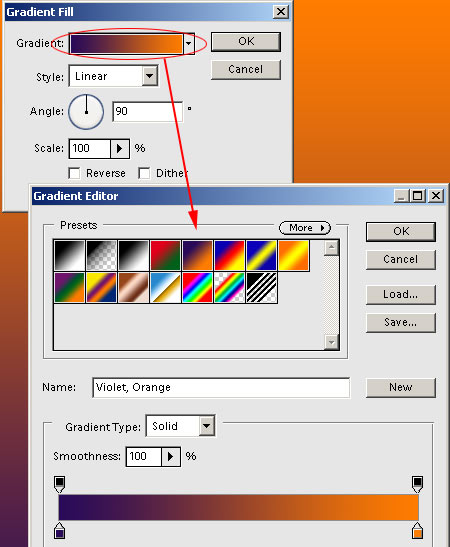
A color gradient is displayed on the adjustment layer. The base colors of the gradient can be specified in the Gradient field. Another dialog, the Gradient Editor is displayed. You can choose from existing Presets, or set your own colors at the bottom. For now, stick to the factory presets. For these dawn colors, the Violet, Orange gradient will be perfect. Leave all other settings on default.
Merged
Now you have to merge the color gradient with the image beneath. It will be easy as pie using blending modes. Change the blending mode from Normal to Linear Burn, and in order to prevent a too strong color effect, decrease the Opacity of the upper layer to 50%. Now you’re almost there!
Finally, click More on the upper right of the palette, and from the menu, select Flatten Image. This command merges the layers.
Autumn mist
We also want to enhance the foggy feeling of the picture. This will be done using another gradient.
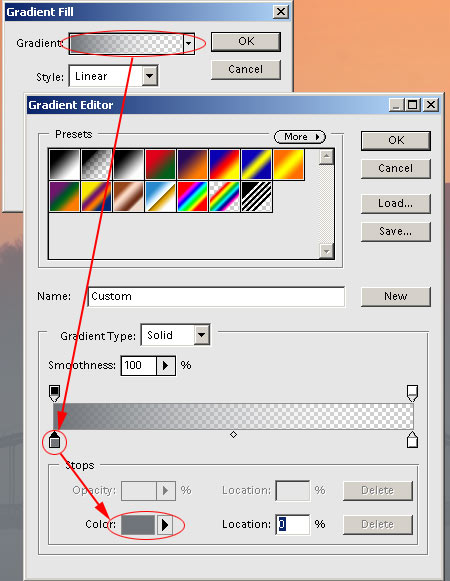
Use the adjustment layer icon again like you did in Step 2. On the Gradient Fill dialog, click the Gradient field. Now you’ll create an own gradient in the editor instead of choosing a factory preset. It will consist of a single grey color which will gradually become transparent. Click the arrow on the left side of the editor, and click the Color field at the bottom. Another small dialog appears–the color picker. Specify a mid-grey color, like the one in the illustration above. This will serve as the base of the mist.
As the gradient fades into nothing by default, you don’t need to set anything for now. Make sure to check the right arrow, though. It is important for it to be white. If it has another color, change it to white.
If you’re done, click More/Flatten Image or Layer/Flatten Imageagain to merge the layers. You’re done! If you like the image this way, skip the next step and save the picture. If you want to adjust something on the lights, read on!
Finally, the lights
Set the blending mode to Luminosity, and add another adjustment layer—this time, Brightness/Contrast. In the dialog, specify the two attributes as you see fit, and click Flatten Image again.
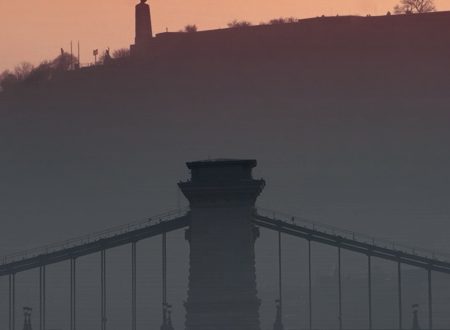
A dawn in autumn
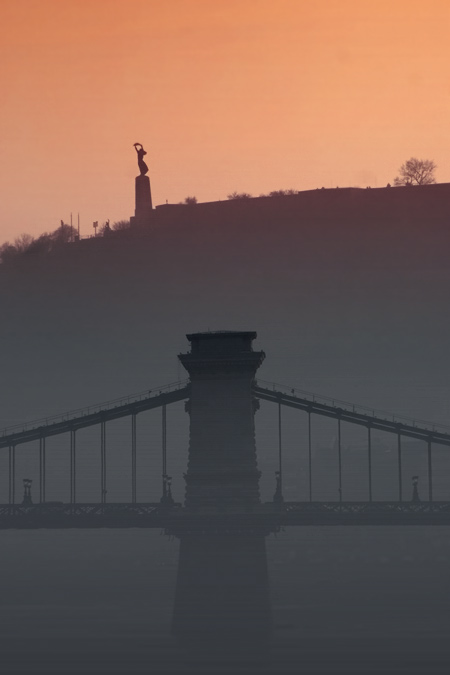
Our fantasy, a misty, late autumn dawn has appeared in the picture. Now you’re ready to save the image.
Using color gradients gives you almost unlimited possibilities. You can enhance, or, for that matter, entirely change the mood of a photograph. Once again, the tagline we are so eager to repeat: Your can do anything your creativity suggests!