If you’re out of ideas about what to do to your picture, mess it up or shake it up with an artificial lake. The basic concept is very simple: copy a piece you like, paste it upside down and tell everyone that it’s a water reflection. OK, but how to do water reflection effect in Photoshop?
Load the photo in Photoshop
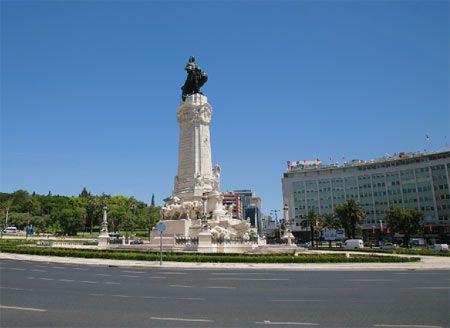
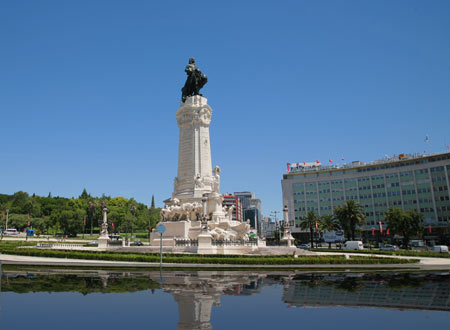
This is a perfect start for creating a fictitious lake. We’ll change this boring concrete in the front to a slightly more interesting water surface.
Get the selection right
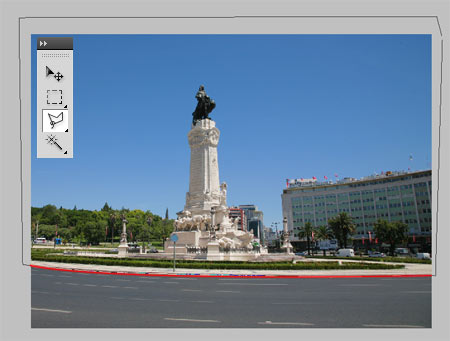
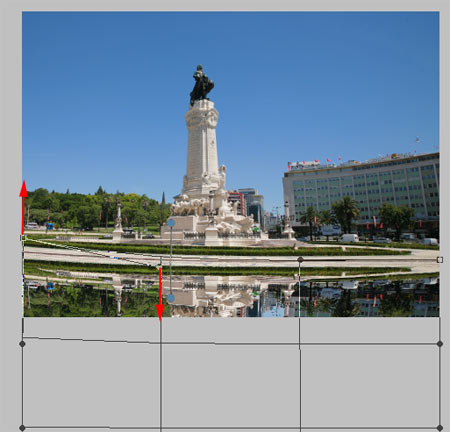
First, identify where you want to put the water mirror. In this example, it’s the concrete strip. You’ll need to copy the area above it. Select the upper picture part using the Polygonal Lasso Tool (press L to activate), with lots of small clicks.
In this picture, the strip runs with a slight arc that the selection will have to follow. The most important is the arc shown in red. This is where the imaginary water surface will begin. The other parts can be just quickly selected outside the image.
Align
After selecting the part you want, press Ctrl+C, then Ctrl+V. By this, the selection is copied and pasted onto a new layer. This will be the reflection, but first it needs to be aligned.
Click Edit/Transform/Flip Vertical to flip the picture part upside down. Use the Move Tool (press V) to drag it to the bottom of the photo and align it into the exact place where the water should be.
You can see that the arcing edge of the selection makes the edges of the identical parts diverge on the left side. This will be dealt with in the next step.
Warp
To fit the edges together, you need the Edit/Transform submenu again, but this time, Warp is the feature you’ll want. To get the arc right, you have to drag upwards the upper left corner of the warp grid, so that the corner of the picture part is warped in the same direction. You can approximate the arc better by dragging downwards the grid handle immediately to the right. This way, the reflection layer will fit precisely into its place.
Light effect

In order to create a realistic water reflection, you have to change surface lightness since on water, the mirror image appears less intensely. It is a simple task, just click Image/Adjustments/Brightness/Contrast, and decrease Brightness and Contrast as you see fit. You may want to decrease contrast quite strongly, and adjust brightness according to that, but the point is to get both values lower in any case.
Not so sharp
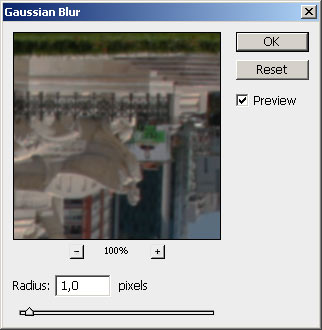
Now, some fine tuning. Click Filter/Blur/Gaussian Blur and set a slight blurring, just enough to make the content of the new layer—that is, the mirror image in the water—a bit less sharp than the original.
Artificial waves
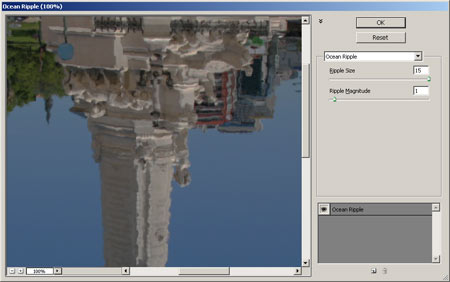
You may even skip this step, but if you want some rippling on your water surface, click Filter/Distort/Ocean Ripple.Ripple Size can be set to any value you like. For larger images, use higher values. On the other hand, Ripple Magnitude should be low as this Photoshop effect is not very realistic, and too intense rippling would just waste the whole picture. Stick to gentle waves!
Contraction
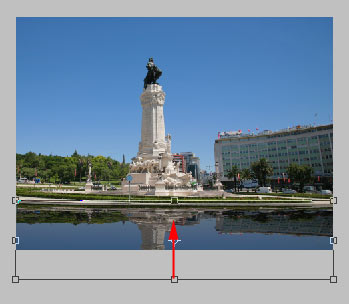
The pseudo-water will look somewhat more natural if you press Ctrl+T to select the layer content and use one of the lower resizing handles to contract it slightly. This will also do a favor to the artificial rippling you just created.
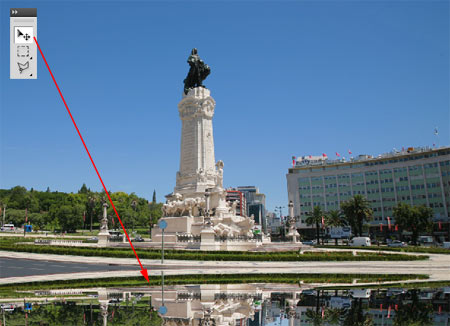
Mirror image
And there it is, the mirror image of the upper photo part on the “water”. Water, which was never there. A true illusion!