You can use this tool in any other older version of Photoshop to replace the background of a picture. In fact what we do is take advantage of the differences in light of the two pictures and so darker parts will show through.
Load the photo in Photoshop
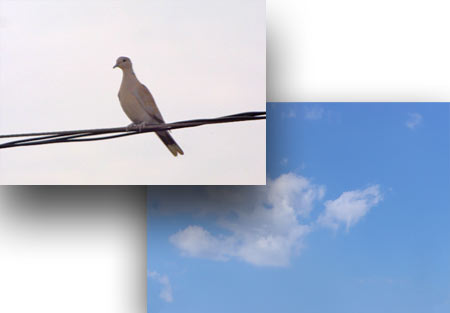
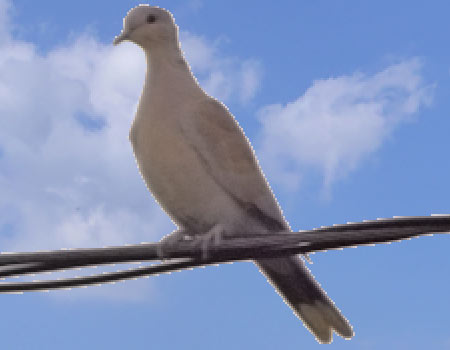
Or rather, two photos in this case. There is this photo with the pigeon, whose dull background should definitely be replaced with a nicer one. We have already chosen a suitable one: blue sky with some clouds.
We could cut out the pigeon but that would take a while. Another good idea is to use Magic Wand tool, but there are other options as well. Since the silhouette of the pigeon is darker than the blue sky, we can experiment with show through of layers.
Layers once again
Select the photo with the pigeon by hitting Ctrl+A and then copy it with Ctrl+C. Next click on the background photo and press Ctrl+V. If you did it right, the pigeon is placed on a separate layer now above the blue sky. It is automatically named Layer 2. This will appear on layers palette as shown above.
Stay on this layer, double click the bar next to its name or use the Layer/Layer Style/Blending Options menu.
It shows through
You’ll now see this window where you can set the show through at the bottom. In other words, you’ll achieve that the upper layer keeps only the pixels that are darker than on the layer below so those will show through. You can achieve this by modifying the upper layer using the This Layer slider.
We would like the lighter pixels of the upper layer to disappear. Therefore drag the light-colored arrow of the slider seen on the right to the left until the grey background around the pigeon and the wire disappear and the layer below appears. We found the best results when using a value of 212. If you drag the slider further, the lighter pixels of the pigeon may disappear as well.
Ragged edges
If you have a closer look at the present state of the photo, you can detect disturbing, light pixels around the show-through area. These make the photo look like fake we might say. The observer discovers at once that the main theme is copied onto the background.
Soften up
In order to avoid this, we have to remove the light outline around the theme by a softer show through of the edges.
Go back to the Layer Style window. Press and hold the ALT key and drag the light arrow further to the left.
All the sliders have two parts. By moving both parts, the show through will be hard, but by interfering with one part only, it will be soft. In our case we dragged the arrow to the left to 130 and so the light edges around the main topic have become softer. We could say they’re gone now. If you wish to accentuate the effect, use the Darker Color mode on the Layers palette.
With a new background
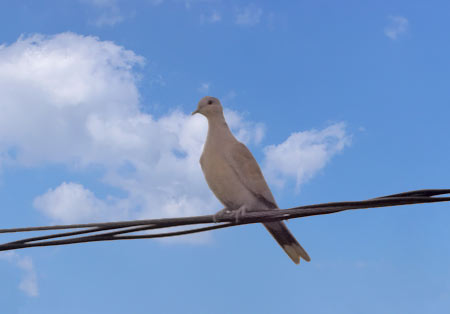
The end result is almost perfect. The main theme of our photo is now perching in front of a new, much more interesting background, and most of the disturbing light outline around it is gone too. The remaining outline is really hardly detectable.
Before saving, unify the two layers by Layer/ Flatten Image menu.