News | Articles | Books | Links |   Digiretus.hu |  Digiretus.ro| RSS
Photo review|2010.07.29.
Photoshop Tutorials|2010.07.11.
Lightroom|2010.06.30.
Review|2010.06.15.
Review|2010.06.12.

A portrait and the Parliament


Our review stream has reached the letter 'P', so for today, there's a portrait and the Parliament. There isn't anything more to connect the two, apart from Balázs Turay's thoughts.


Horizontal horizon in Photoshop CS5

level: Very easy


A new button for adjusting tilted images


What's new in Adobe Photoshop Lightroom 3


Improved noise filtering, automatic lens and perspective correction, and much more.


HonlPhoto flash accessories, part 3: color filters


How to shift and adjust colors?


HonlPhoto flash accessories, part 2: bounce cards and reflectors


From gobo to snoot.


Which photo editor do you often use?

Photoshop
GIMP
Photoshop elements
Paint Shop Pro
other software
nothing


Search this site


PS Elements|2008.02.08.

Lens errors in Elements

level: easy


Correcting what your lens messed up.


Free Photoshop Tutorials: Aquarel effect

Version: Adobe Photoshop 7.0 +


level: advanced

Now we slightly digress from the original path our tips tend to follow. It’s time for a bit of creative work! The procedure below doesn’t really belong to the topic of enhancing digital photos, it is more of a “how-to-touch-up-a-boring-picture-when-nothing-comes-to-mind” thing. We try to make an aquarel-looking picture out of a photo. Of course, we rely on layers once again, as such creative effects in Photoshop are rather boring in themselves.

Advertisement
 

Printer-friendly version

Free Photoshop Tutorial - Aquarel effect


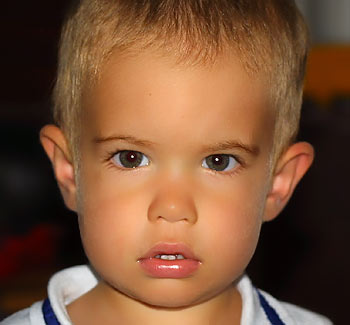
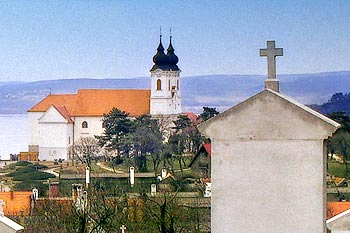
This is a part of a photo that is about to become an aquarel-ish image.

Free Photoshop Tutorial - Aquarel effect

Make two duplicates of the original layer on the Layers palette. Use Layer/Duplicate Layer twice. Call one 02, and the other 03, for the sake of easier identification. Click layer 02, and set Opacity to 50%. Now select layer 03 and do the same. This doesn’t bring any visible change in the picture but it is ready now to receive the effects.

Free Photoshop Tutorial - Aquarel effect

Select layer 02 again, and click Filter/Sketch/Photocopy. In the appearing dialog, set a medium Detail and a low Darkness value. We have used 10 and 3, but of course, set anything you find good. Take care, though, to not make too much contrast. The result should mostly look like a bleached picture.

Free Photoshop Tutorial - Aquarel effect

Now select layer 03 and click Filter/Artistic/Watercolor. Set the values as you like, but you’re advised to keep Shadow Intensity and Texture low for a more aquarel-ish general effect.

Free Photoshop Tutorial - Aquarel effect

All you have to do is to merge the layers by clicking Layer/Flatten Image. Or perhaps you can adjust Opacity for the layers 02 and 03 further if necessary.
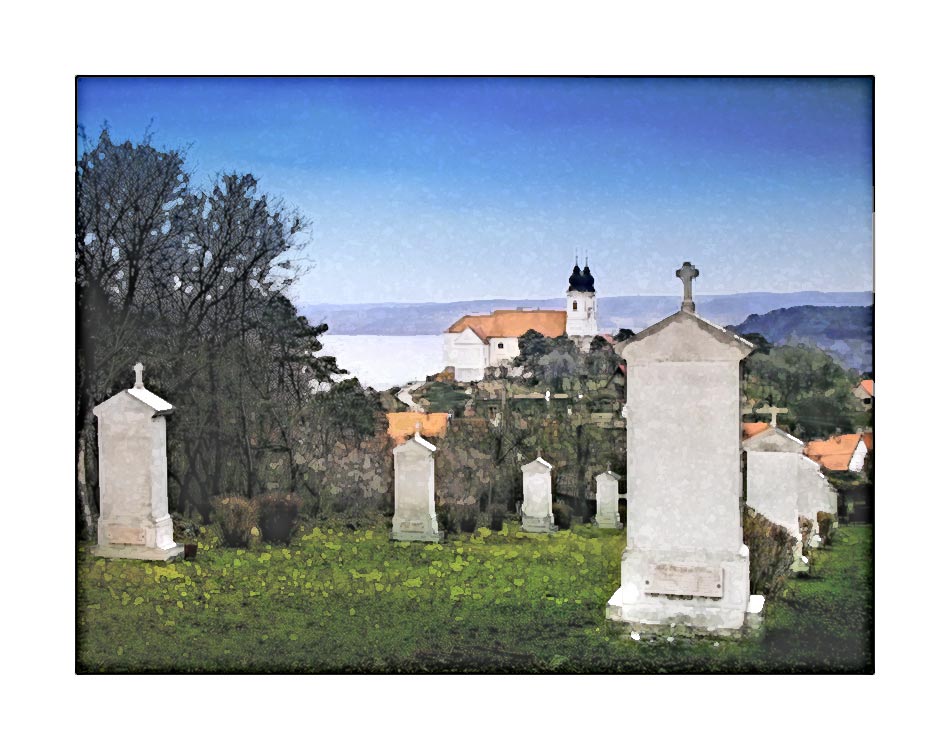
Here’s the final picture. Click the small image to enlarge it.

Free Photoshop Tutorial - Aquarel effect


Impressum
| About us

© nEtural webdesign 2006.
All rights related to the free use of any pictures, sounds, written material and graphical elements published on the web site are reserved by the site owner. The owner's approval is required for the use of such published elements.