We have encountered the problem of applying an effect to only certain parts of a picture instead of the whole in several of our earlier photoshop tips. By using layer masks, you can “punch through&” specified areas of a modified layer so that the areas of the layer underneath will be visible in the picture. That is, the earlier state can be preserved in these parts. The application of layer masks offer practically infinite possibilities and can be used in post-production in any branches of photography, be it landscape, portrait or object. The example contains a general and simple layer masking procedure. After mastering it, you can enhance it further to suit more complex tasks.
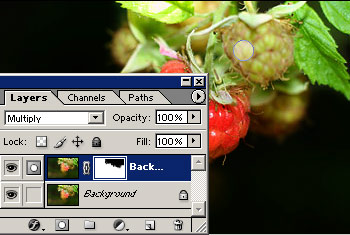
We have duplicated the background layer (click Layer/Duplicate Layer) and set the general effect mode for both layers to Multiply. This way, the raspberry got darker and more saturated colors. Of course, you can select any effect you like in this step, according to your photo and concept. This first step is actually unimportant from the aspect of layer masking. The point is to have at least two layers that differ in, say, their general effect.
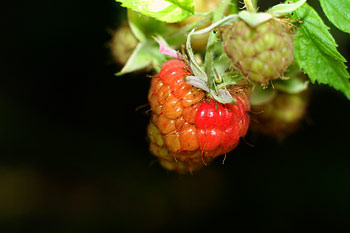
In the example, our aim is to keep the changes of colors and lightness on the raspberry while preserving the original state on the rest of the picture.
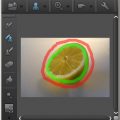
Click the indicated icon at the bottom of the Layers palette to create a layer mask on the upper layer. This will be indicated by an empty white rectangle with a narrow light border, showing that a layer mask is selected. Make sure it stays so.
Simply put, a layer mask allows you to punch through the layers so that the layer beneath shows through in certain areas. The most appropriate tool for this aim is Eraser (press E to activate it). Choose a mid-sized soft brush from the options at the top. Start painting over the areas where you want to restore the original state. In this example, these are the leaves, except the raspberry and the dark background. As the layer mask is active, you will see the changes on it. In the layer mask indication window, a black color indicates the punched-through areas. In these parts, the layer under the topmost one will show through, while white areas still display the upper layer.
If you have messed up something, and want to paint an area back, change to the Brush tool and choose a brush of similar size and properties to restore the upper layer, shown once again in white.
When you’re ready, click Layer/Flatten Image to merge the layers.
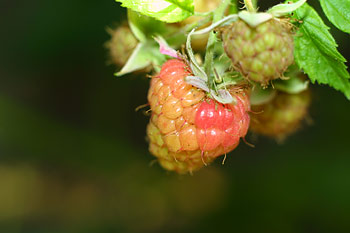
Here’s the result.