Do you wish to add an antique-ish sepia touch to your photos? You can find two small tricks in this photoshop article that help you convert pictures into a brownish tone.
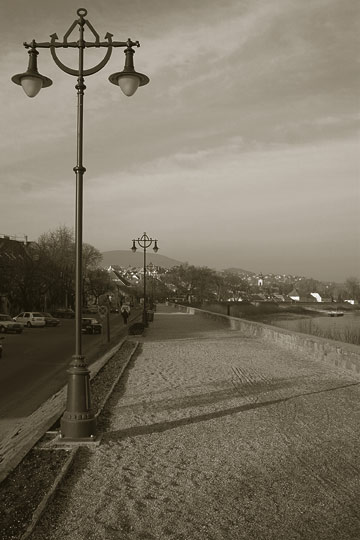
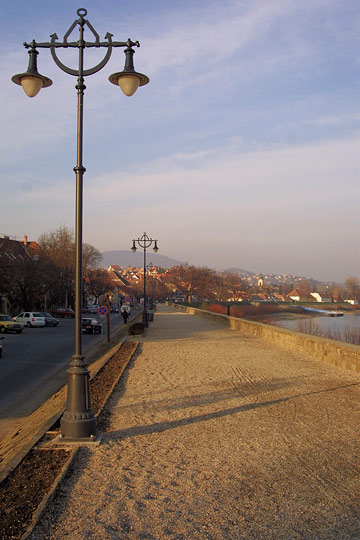
Let this color photo be the starting item:
If you wish to add a sepia tone to the image, on the Actions tab on the right, choose Sepia Toning (grayscale) or Sepia Toning (layer) from the Image Effects group.
Choosing the latter, you will see 3 layers in the Layers window. By selecting the uppermost layer and changing the value of Opacity, you can control the sepia effect on the picture.
There is a more unique and somewhat more difficult solution that can provide you with a better result. Turn the photo into a grayscale image by clicking Image/Mode/Grayscale, and Image/Mode/Duotone becomes accessible. Click this option. On the appearing dialog box, choose Duotone in the Type field to be able to set two hues instead of one brownish. For Ink 1, set black (the default setting), so that the black parts of the image stay black. For Ink 2, find a light yellowish brown. I have chosen 117 M from the PANTONE palette.
Left of each color chooser, you can see a diagram. Click on it, and set the brightness values of the selected color on the curve on the left side of the appearing dialog box. On the right, you can do this by entering numbers, and the curve will change accordingly. To avoid the picture being too dark, I have pulled the end of both curves downwards: for black, to about 95% and for the brown, to about 66%.
If you want to add more colors to the image, set Tritone (three colors) or Quadtone (four colors) as Type. This way, you can get an even more interesting effect.
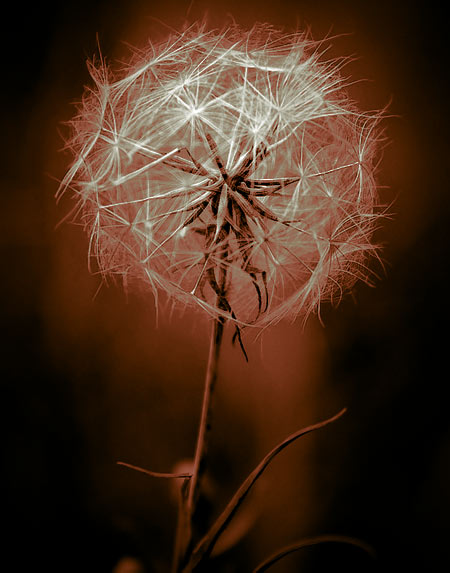
Let’s see what became of our picture: