For the second time, we embark on a quest for increasing contrast. Once again, we abstain from the Lightness/Contrast menu command, which is easy-to-use and therefore offers limited capabilities. Instead, our eager eyes fall on one of the favorites among professional image editors, the Curves command. More exactly, we’ll use the widely known S-curve method. Of course, correction layers will once again play an important role in having the photo fit our preliminary ideas.
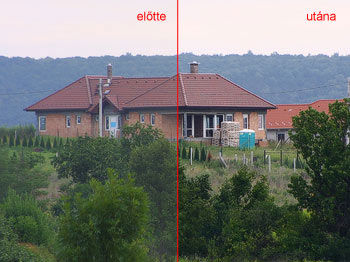
In this article, we’ll increase the contrast of this photo.
Click the button that creates an Adjustment Layer on the Layers palette, then click Curves in the dropdown. Curves allows you to modify the lightness levels (and therefore, contrast) of the picture even per channel.
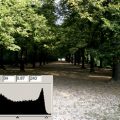
First, put 3 markers onto the curve as indicated. They should cut the line into approximately equal quarters. Now drag the lower marker slightly downwards. This gives stronger contrast to the darker areas. Similarly, drag the upper marker slightly upwards, as indicated.
This produces a mild S-curve that allows you to control contrast by further fine adjustments. Keep in mind that over-increasing contrast will make important details disappear.

Click OK and return to the Layers palette. Switch the general effects mode from Normal to Luminosity. The contrast increase has also affected color contrast, while our aim was to modify only lightness contrast. By applying this change, the Curves Adjustment Layer will only affect lightness, but not colors.
Click Layer/Flatten Image to merge the layers, and save your photo afterwards.
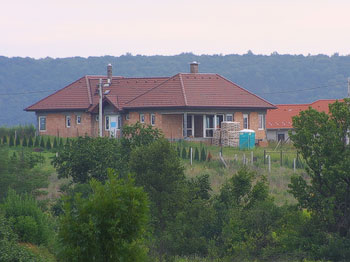
Before / After