Infrared photography is a very interesting area of taking photos. The appearance of digital cameras made it easy for amateurs to access this formerly rarely used area. However, the rather expensive image detectors and infrared filters prevent many from exploring this world. As an alternative, you may try to reach a similar effect by photo manipulation.
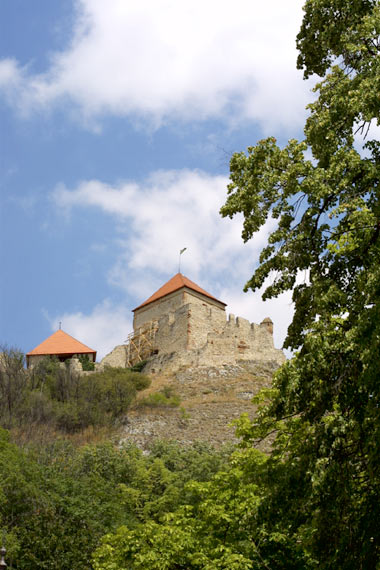
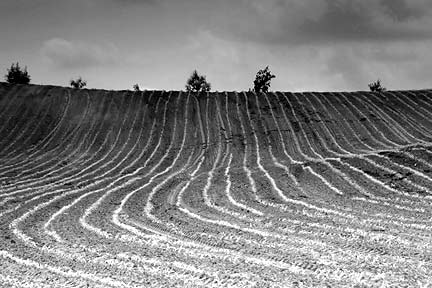
If possible, choose a landscape photographed in nice weather, with a uniformly blue sky, clouds, and green foliage. The effect will be strongest in such photos.
 On the Layers palette, click Adjustment Layer (a black-and-white circle) to choose Selective Color mode. At the bottom of the appearing window, set Method to Absolute, and change the above color channels according to the following values:
Reds channel: Cyan: -100, Magenta: -100, Yellow: 0
Yellows channel: Cyan: 0, Magenta: -100, Yellow: 0
Greens channel: Cyan: 0, Magenta: -100, Yellow: 0
Cyans channel: Cyan: -100, Magenta: +100, Yellow: -100
Blues channel: Cyan: -100, Magenta: +100, Yellow: -100
You don’t need to change the values for other channels.
 Similarly make a new Adjustment Layer, this time selecting Channel Mixer.
In the Channel Mixer window select Monochrome at the bottom, and set the color channels to the following values: Red -50, Green +200, Blue -50.
 Now you have 3 different layers. Background contains the original image, and you have created a Selective Color and a Channel Mixer adjustment layer. Select the Selective Color layer, and in the upper right corner of the palette, set the final tone ratios for the picture by dragging the Opacity slider. In this case we have set it to 60% but of course you should always use a value fitting the particular image and your style. As with real infrared effects, make the green foliage whitish but not burnt out, and the blue dark, with bright clouds.
After completing the procedure, merge the layers by clicking Layer/Flatten Image.
If you’d like an infrared image with a less digital feel, you can add a “glowing grains” effect by clicking Filter/Distort/Diffuse Glow.
Warning: As the particular color channels of digital cameras contain only partial information relative to the whole image, the above mixing and shifting of the channels may lead to a severe loss of details and sharpness, as well as to the appearance of color noise.