Needless to say, the new feature introduced in the article has been inherited by Elements 5.0 from Photoshop. The Smart Sharpen filter can be a perfect sharpening tool for emphasizing details of photos to be viewed on a monitor or published to web, or for correcting pictures with a slight motion blur, and is smart enough for general sharpening tasks. Of course, a few features have been omitted from the Elements version. Still, we like it despite its defects.
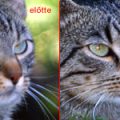
Load the photo
Although the photo looks sharp enough already, web publishing requires a bit of detail emphasis. The traditional Unsharp Mask feature was also suitable for this task, but Photoshop Elements 5offers a way better solution.
Smarter sharpening
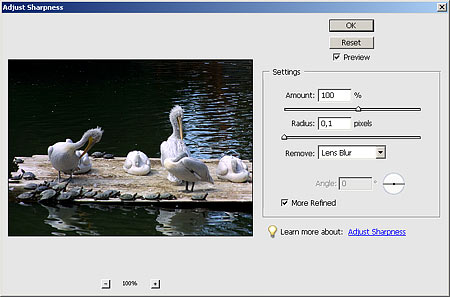
It is called Adjust Sharpness and can be found in the Enhancemenu. In many ways, it resembles the Smart Sharpen filter of newer Photoshop versions, but it doesn’t allow setting the strength of light or dark edges. So, it is not that smart. Still, it offers the basic sharpening options.
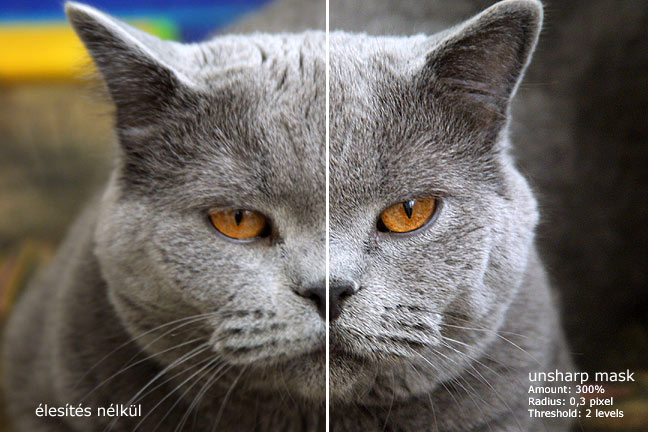
Amount specifies the extent of sharpening between 0 and 500%. Radius tells how far the sharpening will go from the edges. Lower values allow only the sharpening of the finest details, while higher ones produce a coarse, rough effect.
The real power of the feature, however, is in the rest of the options.Remove offers three options to specify what kind of blur you want to remove:
Gaussian Blur: Traditional sharpening. Suitable for average or large photos. Its effect is similar to that of Unsharp Mask. Can deal with tiny details, but is really appropriate for sharpening the whole of the picture.
Lens Blur: This option is for countering the fine softness of a lens. By very low values (a radius of 0.1 to 0.2 pixels), it is capable of sharpening the finest details, particularly when used together with the More Refined check box. It can come handy when saving small images for web.
Motion Blur: A rough sharpening feature for correcting motion blur. Severe blur effects cannot be corrected with it. Selecting the options enables Angle, specifying the direction of the motion. Sharpening “compacts” the picture in this direction. Its effect will be demonstrated in the next section.
More Refined: Select it to enable the sharpening of smaller details. Keep in mind that noise in the pictures is usually detected as “finer details”, so the feature can significantly increase noise level. It is perfect for images used on a monitor or the web.
Fidget and tumble

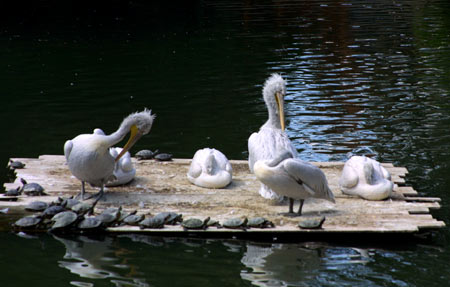
Here’s an example on how to sharpen a photo that is motion blurred because of a long exposure time.
We selected Motion Blur from the Remove dropdown. Amount was around 200%, while Radius about 3 to 4 pixels. Angle was set to -66 degrees. You may want to experiment with Angle as the direction of the blur cannot always be determined easily. We left More Refined unselected this time.
Applying a weaker sharpening and repeating it with different angle values can also lead to an acceptable result.
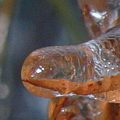
Razor sharp

The image is for web publishing, and of a small size, so we used Lens Blur with the More Refined option. Radius was 0.2 pixels to enhance very small details. An Amount of 100 to 200% brought good results. Count the dust flecks!