It may happen especially when using a wide-angle lens and/or applying filters that the corners of the picture are covered by something. The effect may range from a slight darkening to a rough black border. In artistic pictures, this darkening may even look nice, but most of the time it is rather annoying, so it is best to eliminate it as described below.
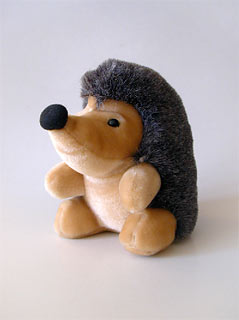
It’s easy to spot the darkened corners in the photo.
It’s easy to spot the darkened corners in the photo.

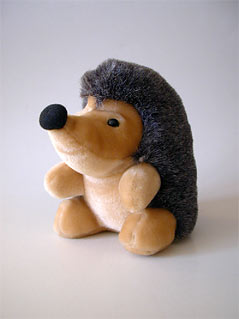
Select the Elliptical Marquee tool and drag an ellipse from the upper left corner to the lower right, as shown here.

Right-click inside the marquee and click Select Inverse to invert the selection, that is, make the corners of the photo selected.
As the darkening has a soft transition, we also have to soften the selection.
Press Q to switch to the Quick Mask view which lets you view and edit the selection.
Click Filter/Blur/Gaussian Blur to soften the selection edges. Set a high Radius value for a soft transition. For the 2–megapixel sample picture (1600×1200 pixels), we used a Radius of about 131 pixels, as you can see below.

If you have the soft transition, press Q again to leave the Quick Mask view. Now hide the visible marquee by pressing Ctrl+H. This doesn’t affect the selection, just hides the dashed lines to let you see the future results of your actions better. So, you have the selection, softened towards the corners. Now it’s time to make those corners lighter!
Click Layer/New Adjustment Layer/Levels to create a layer mask. On the dialog, drag the black arrow on the Output Levels slider to the right until the corners get light enough. For the sample image, a value around 107 was appropriate.

When you’re done, make sure the Levels layer is selected, and on the Layers palette, switch the blending mode from Normal to Luminosity so that the change only affects lightness, but not colors. Finally, click Layer/Flatten Image to merge the layers.